Carrying on from my earlier post covering the design of the owl intarsia pattern, in this post I pick some of the timber and layout the pattern and the cut sheets.

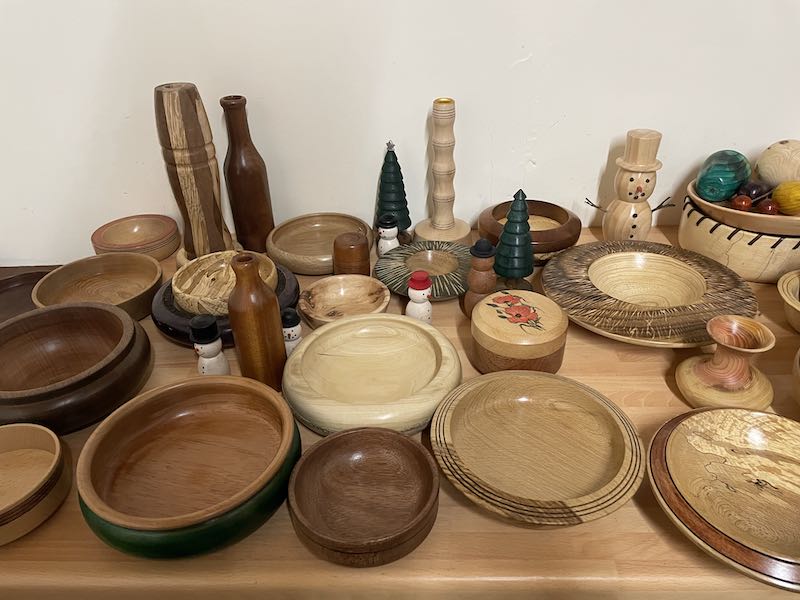
Here we have a variety of woods that I think will suit the project.

You can see the overall layout pattern (taped up) with the cut sheets spread out on top.
Next job to start applying cut patterns to wood ready for cutting on the scroll saw.

Above is the bottom section of the left wing. Time to move over to the scroll saw.

Time for a couple of videos…
Hmm, It was all going so well till the blade broke! A fairly regular occurrence though with such thin blades.
New blade and we’ll continue.
I’ll carry on and cut out the rest of the feathers.
Here they are laid out on the pattern.

Just in case you missed part one.
Forward to part 2b

Is that the machine you nearly lost a finger on?
Oh no, this is a toy compared to the machine that had at my finger! The scroll saw is probably the only machine in the workshop that it would be hard to sustain a serious injury on.
I had at my finger with a bench top planer.
This is a planer head. The blades are literally razor sharp and spinning at around 10,000 revs per minute, not a place for fingers!
The continuation is amazing Phillip seeing the different woods and how each element is individually cut to shape as the numbered drawing.
It is nice to see how each stage progresses and is both interesting as well as fascinating.
I look forward to your next Blog.
Thank you Peter.
I’m about half way through cutting the individual pieces now. Once they’re all done it will be a case of shaping each piece. Once I’m into that I’ll do another progress post.