In this post, I’ll go through the steps of turning and decorating the eccentric bowl shown in the header.
Unfortunately, as I write this I’ve realised that I missed a couple of photos but I’ll describe the process as well as I can.
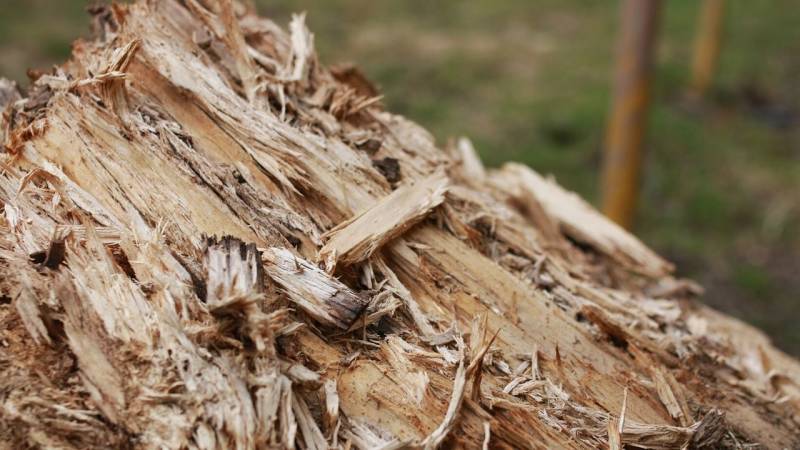
Okey dokey, so the first pic is of the Beech blank that I chose to make this. The blank needs to be longer than the width (ultimately diameter) of the bowl.

Here we can see I have drawn my intended bowl layout onto the wood. As you can see what will be the off-centre bowl part of the piece is centred on the blank so that the blank will be balanced as I turn out the bowl recess.

Here, I have glued a mounting block onto the beech blank using hot melt glue. This will allow me to mount the blank into the lathe chuck to turn out the bowl portion.

This is the piece with the bowl recess turned and taken off the lathe. I have already removed the temporary mounting block from the other side of the piece.

Here I have hot melt glued another mounting block onto what will be the face of the bowl. You can see that the mounting block is centred on the outer circle (overall bowl outline) that I drew. The off-centre recess can be seen below the mounting block. I have also rough-sawn around the circle edge to remove the excess timber that was there to keep the piece balanced whilst turning the recess. This needed to be removed to allow the blank to run balance now that we are turning on a different centre point.

Here we can see the underside of the bowl turned and sanded. On the left of the piece, you can see the edge of the mounting block. I have turned a foot onto the bowl which will also allow me to remount the bowl into the chuck without a block so that I can turn and finish the top of the bowl (unfortunately I didn’t take a photo of this step).

I drew a rose design on my iPad and laser-burned the design on the wide side of the bowl. Sadly I forgot to take the phot before I started painting! You get the idea though I’m sure.

Here is the finished bowl painted using water colour paints and then sealed using satin lacquer.